
Chalk paint and Mason jars seem like a match made in heaven, don’t they? I see them everywhere, and they’re just so charmingly vintage-looking. I’ve wanted to try them for awhile, but one day, as I was cleaning out the refrigerator I had a better idea.

I hate tossing away glass jars, especially the ones that have an interesting shape. Pickles, pasta sauce, jalapenos, spices; there are loads of little jars that I’ve held onto. I was just waiting for a spark of inspiration.
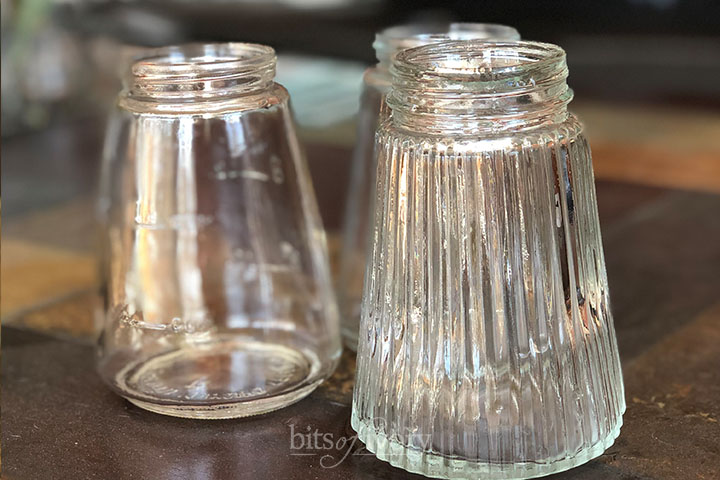
These three old syrup jars practically begged me to make them into a pretty little set of bud vases. The ridged jar had built-in personality, but the other two were a bit . . . plain. I came up with a fantastic solution that I share in the instructions below so that you can make glass jars beautiful with chalk paint too!
The first step is to prepare the jars. I washed mine in the dishwasher. If you have any sticky residue at all, be sure to get it off before you continue. You can use rubbing alcohol to ensure there isn’t anything oily to reject the paint.
That’s it for prep. I love chalk paint because no primer is necessary!
As I mentioned, I wanted to add a bit of personality to the plainer jars. I love the look of the older mason jars with their raised design elements, but the only solution I found online was hot glue, and It wasn’t really the look I was going for.

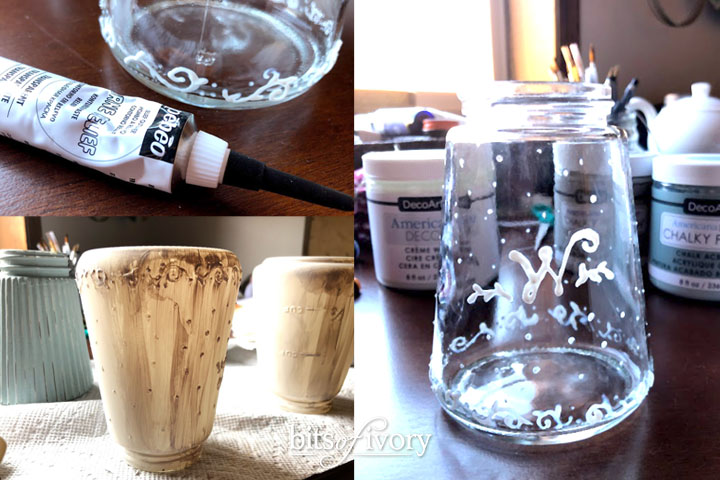
After a bit of research, I decided to experiment with something called relief outliner. It’s used by glass artists, and has a very fine tip. It comes in several colors, but I used the clear which was perfect for this project.
On one jar I made a three leaf clover design as a nod to St. Patrick’s Day this month. It’s subtle enough that it’ll be pretty all year ’round.
I personalized the final jar with a monogram “W” and some swirly vines along the bottom. To add even more texture I added random polka dots.
I wanted an informal, playful feel to the project, so I free-handed the designs. You could easily print out a design and tap it to the inside of the jar if you wanted something to trace.
Allow your designs to dry completely before painting! I let mine dry overnight.
Now it’s time to paint your jars! As I said above, one of the great advantages of chalk paint is that no primer is required.
For this project I used Americana Decor Chalky Finish paint by DecoArt. I loved the colors, the 8 fl oz size was perfect, and Home Depot carries it, so we were able to pick it up while we were shopping for home project supplies. Feel free to use whatever chalk paint you like!
I wanted a two-tone effect, where light sanding allowed the base color to come through. It’s a bit of extra work, but I absolutely love the effect it gave! I also wanted a brush texture so used a small, soft brush to apply the paint.
I applied:
I allowed about half an hour between coats to allow the paint to dry, and then allowed the jars to dry overnight before continuing on to the next step.
Once the chalk paint is completely dry, you can use a fine grain sand paper to distress it however you like.
I like to hit the edges and areas that would logically wear first. I sand lighter in some areas (just enough to let the base color come through a bit. I also sand the raised areas so that the textures stand out more.
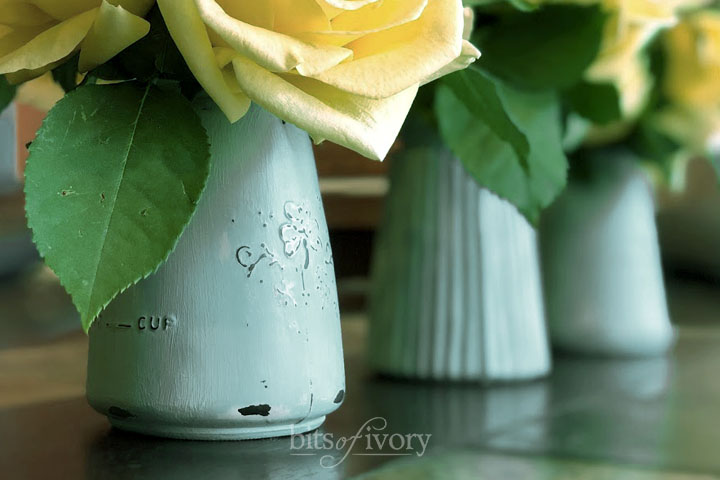
And because I really like the vintagy-distressed look, I sand right through down to the glass in a few areas!
The final step in these pretty little jars is to seal them. There are many different kinds of sealer, and any of them will work for you, but I chose to use the cream wax from the same brand.
Apply your sealer according to the directions. I used a soft cloth to buff the wax once it was applied and I love the soft sheen it gives it.
Clean the jars with a damp cloth as needed. Do not clean in the dishwasher.
That’s it! Prep is a breeze. Clean up is a breeze. You’re going to love making something lovely that would otherwise be tossed away.
Be sure to tag me (@barbaraanne.art) on social media with your ordinary jar makeovers!